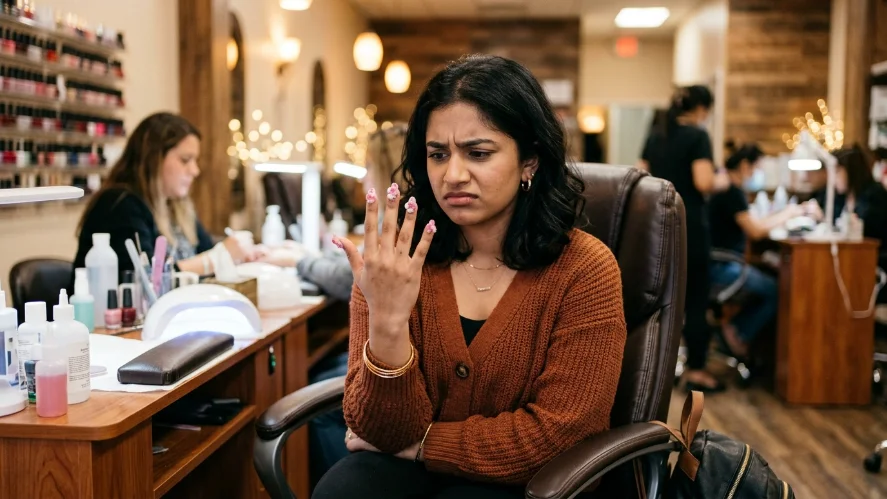
15 Easy DIY Nail Art Ideas You Can Try at Home
Written by Emma ·
Doing your nails at home is fun, creative, and budget-friendly. Easy DIY nail art lets you express your style without visiting a salon. You don’t need professional skills to create beautiful designs. Simple tools and a little patience are all you need. Beginners can start with basic patterns and build from there. This guide gives you beginner nail art ideas, step-by-step instructions, and helpful tips. Get ready to create cute nail art ideas right at home.
Why Try Easy DIY Nail Art
Saves Money Salon visits add up quickly over time. Doing your own nails costs a fraction of that price. A few basic polishes and tools go a long way.
Fun Activity Nail art is a creative and relaxing hobby. It keeps your hands busy and your mind calm. You can try new designs whenever you want.
Easy to Learn Most simple nail art ideas require no special training. You learn by practicing on your own nails daily. Every attempt teaches you something new and useful.
Tools You Need for DIY Nail Art
Having the right tools makes nail art much easier.
Nail Polish Keep a few base colors and a clear top coat ready. Choose shades that complement each other for mixed designs. Quality polish gives smoother and longer-lasting results.
Dotting Tools Dotting tools create perfect circles and dot patterns. They come in various sizes for different design effects. You can buy a set online for very little money.
Toothpicks Toothpicks work perfectly as a free dotting alternative. Use the tip to draw fine lines and small dots. They give you good control for detailed nail art designs.
Nail Brushes Fine nail brushes help you draw thin, precise lines. They work great for floral patterns and detailed designs. Clean them after each use to keep bristles in shape.
Tape Tape creates clean, straight lines on your nails. Use thin strips to mask areas you don’t want colored. Peel it off slowly before the polish fully dries.
Easy DIY Nail Art Ideas for Beginners
These beginner nail art designs are simple and stylish.
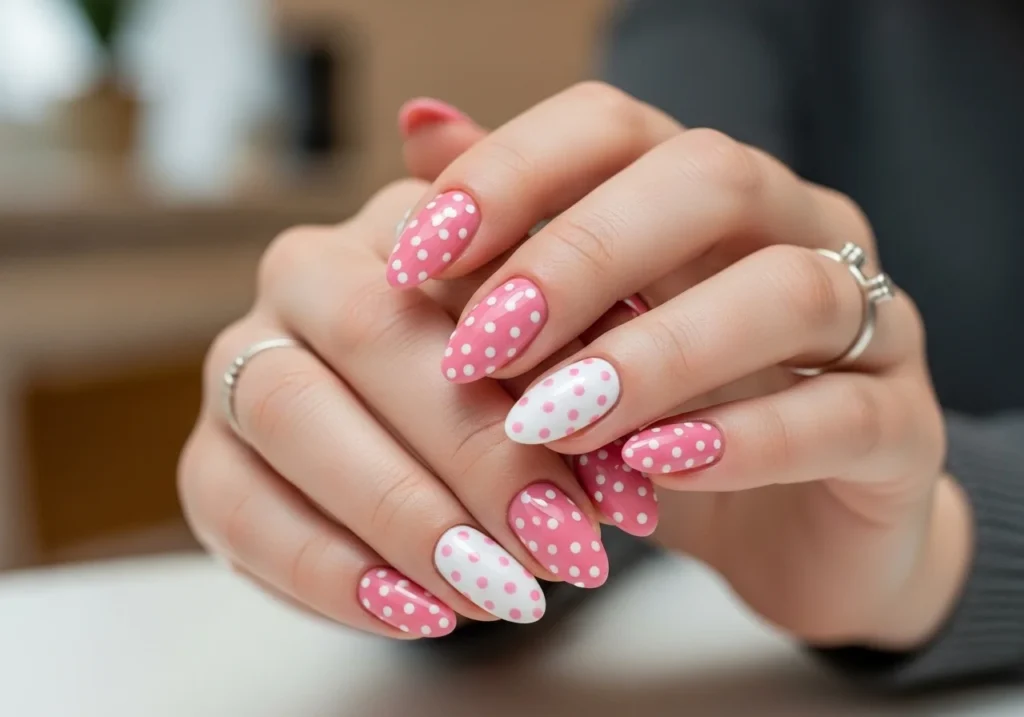
Polka Dots Polka dots are one of the easiest nail designs at home. Apply a base color and let it dry completely first. Then use a dotting tool to add contrasting colored dots. Space them evenly for a neat and clean look.
Stripes
Stripes give nails a modern and graphic appearance. Use tape to create perfectly straight lines on nails. Paint over the tape and peel it off immediately. The result is a sharp, clean stripe every time.

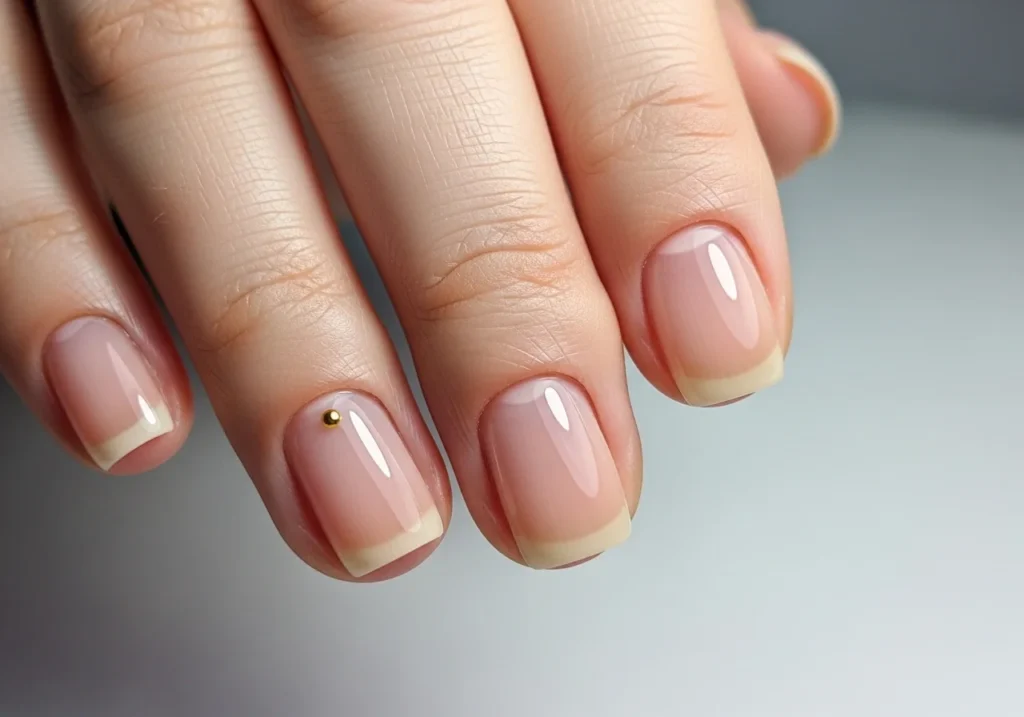
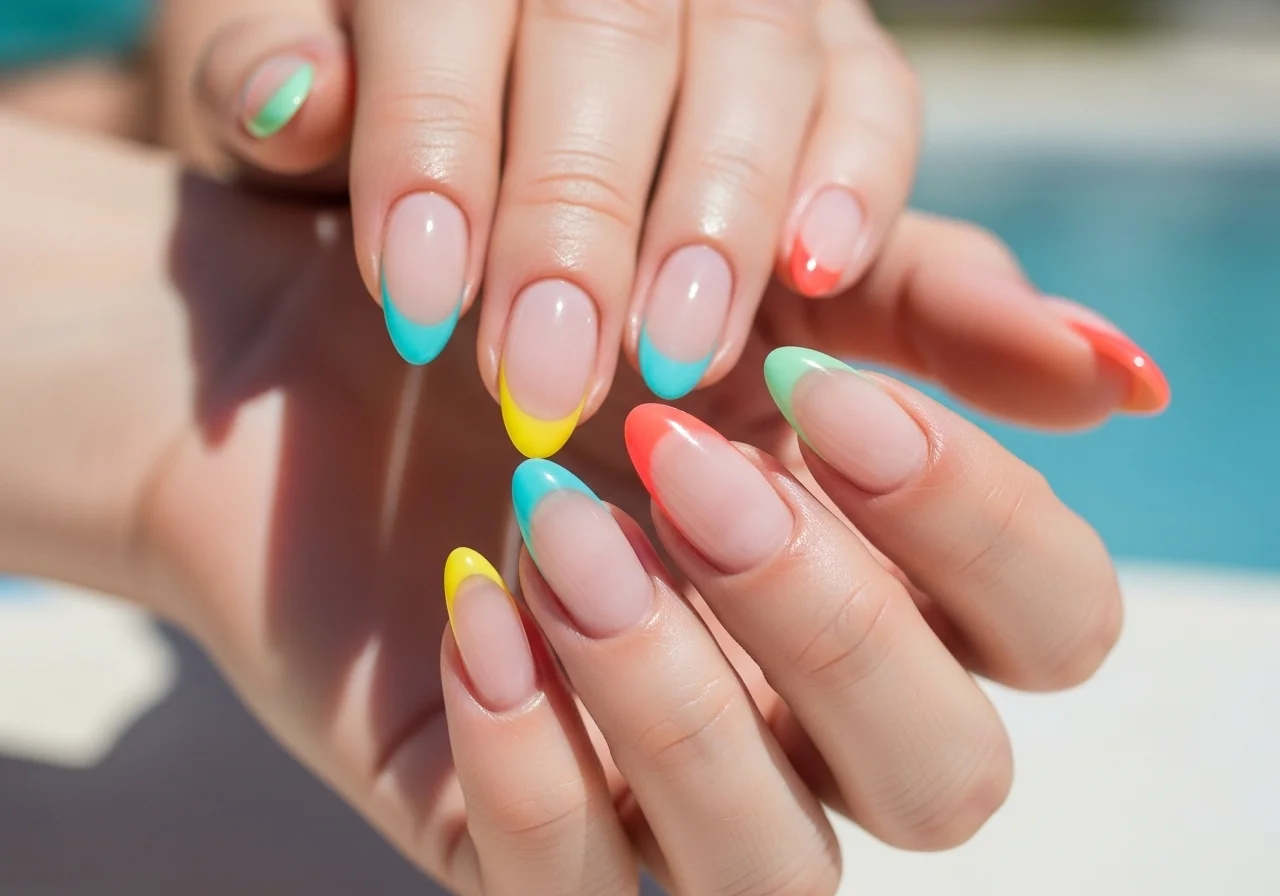
French Tips
French tips are a timeless and elegant nail design. Apply a nude or pink base coat first and let it dry. Then paint a thin white line along the nail tip. Use tape or a steady hand to keep lines even.
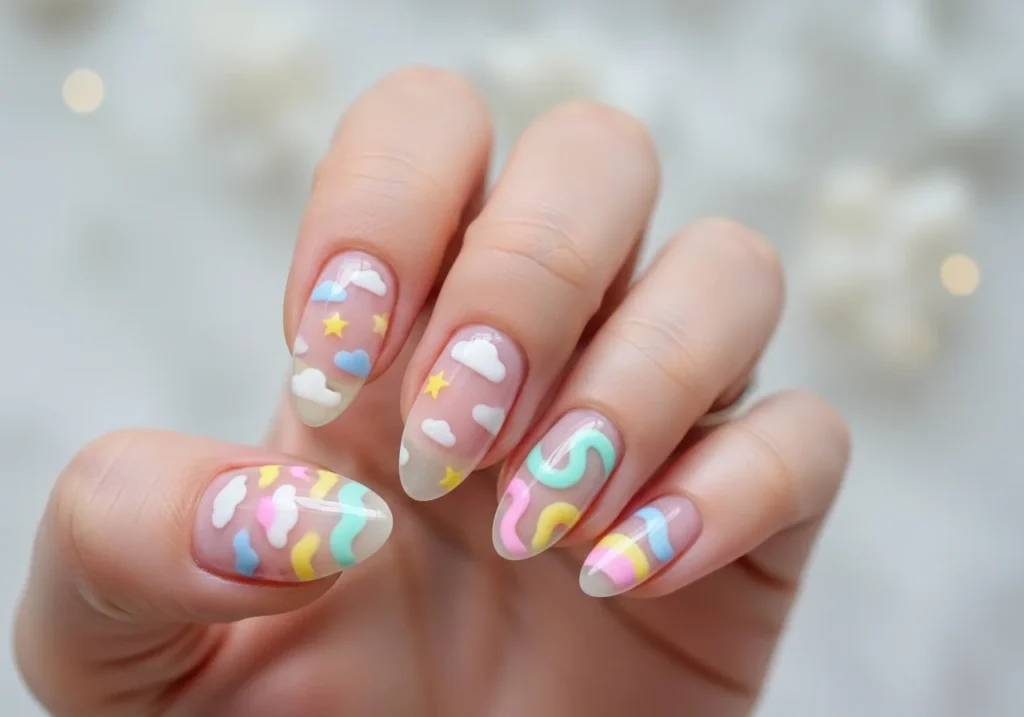
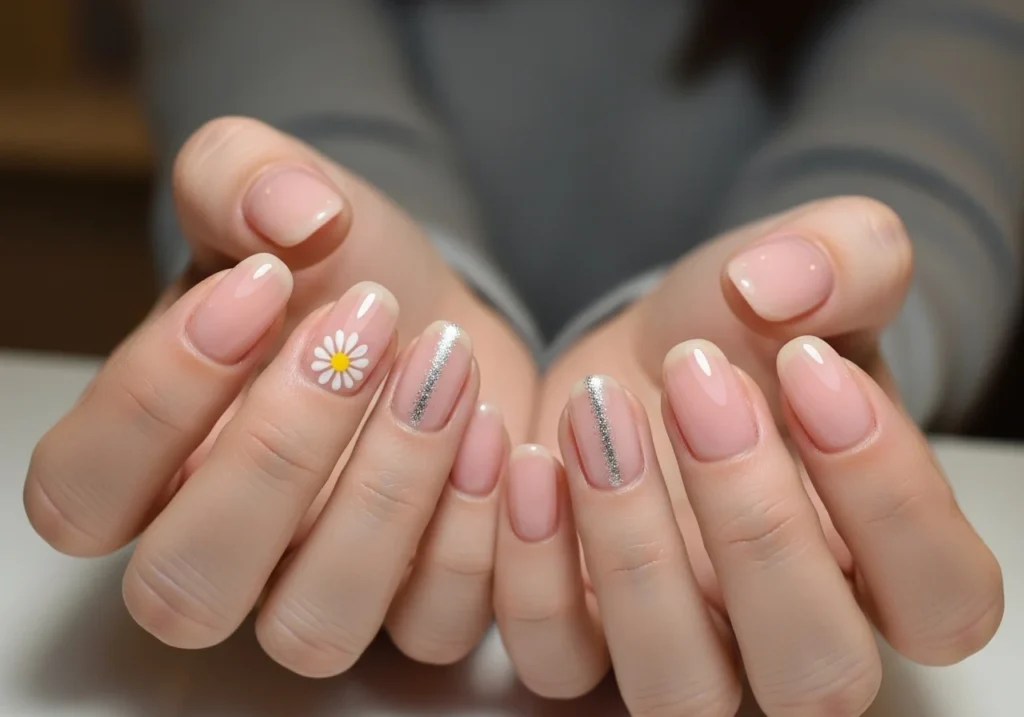
Minimal Designs
Minimal nail art looks chic with very little effort. Try a single thin line or one small shape per nail. Negative space designs are popular and very easy to do. Less is more with minimal nail art styles.
Cute Nail Art Ideas at Home
These cute nail art ideas add a sweet touch to any look.
Heart Designs Draw two small dots side by side on your nail. Use a toothpick to drag each dot downward to a point. This simple trick creates a perfect tiny heart. Use red, pink, or white for the sweetest results.
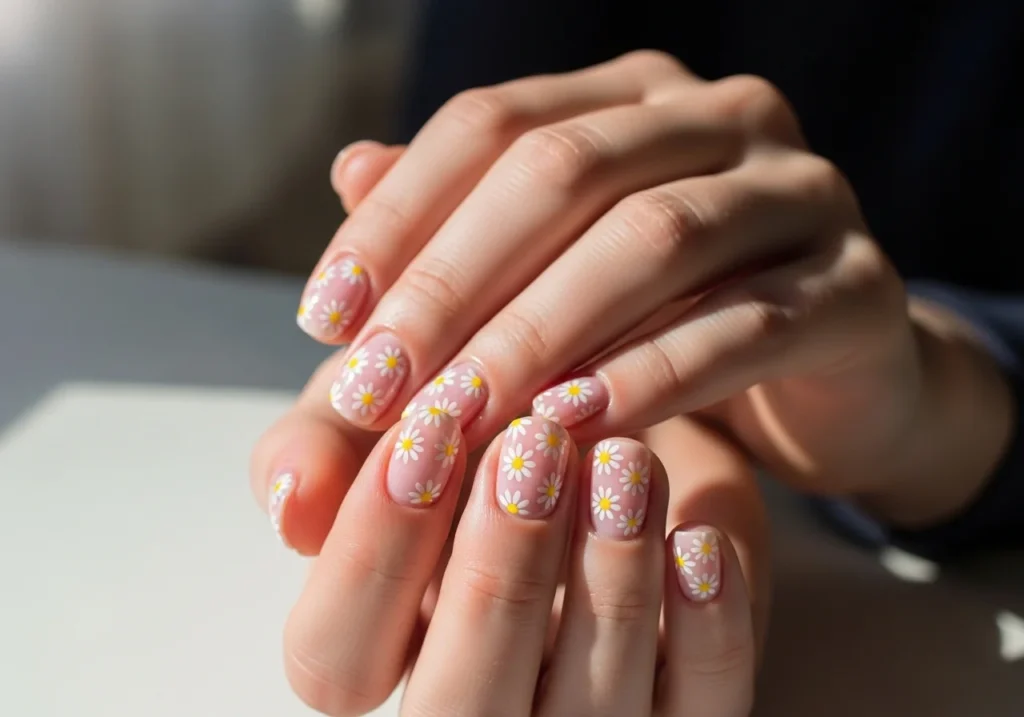
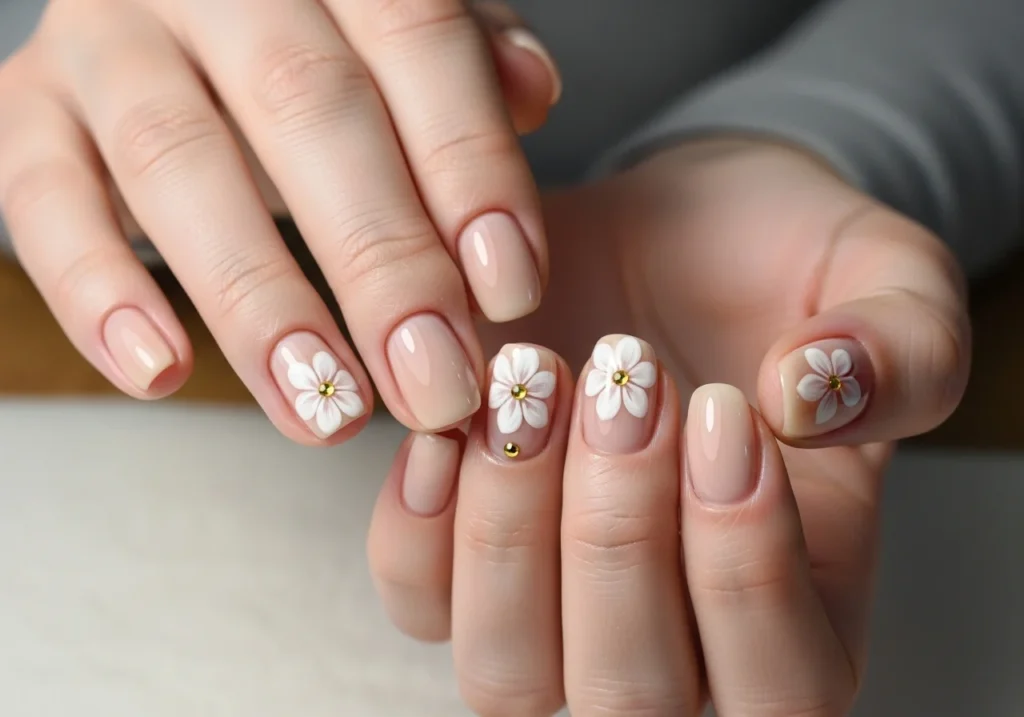
Floral Patterns
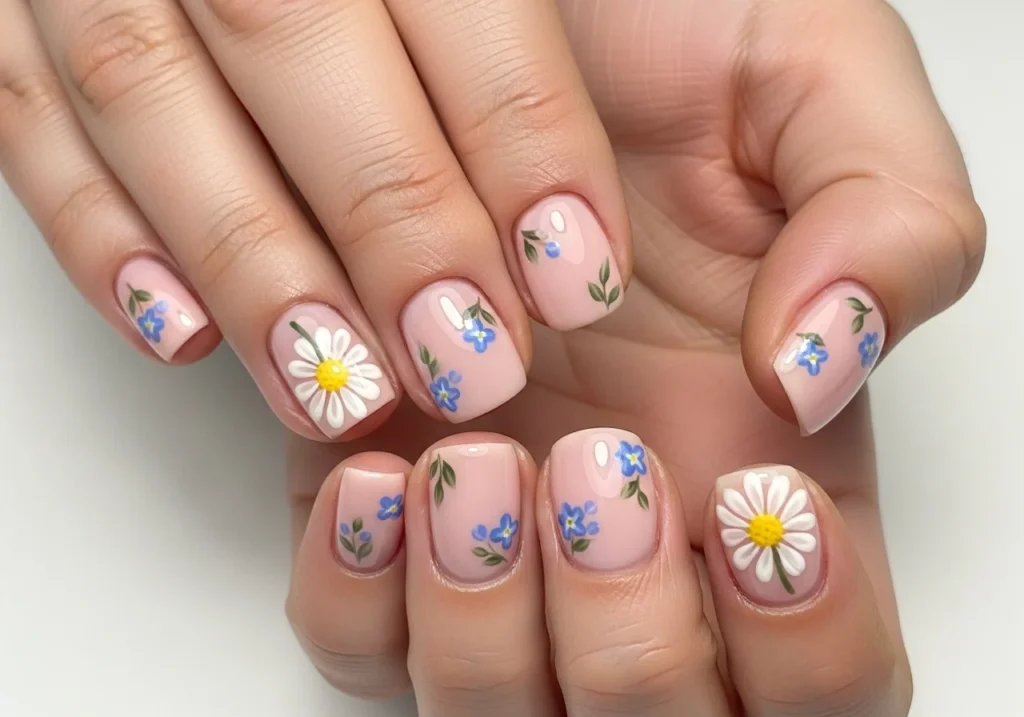
Floral nails look complex but are simple to create. Paint five small dots in a circle to form petals. Add a single dot in the center to complete the flower. Use a dotting tool and two contrasting colors for best results.
Pastel Nails
Pastel shades look fresh, soft, and stylish on nails. Choose colors like lavender, mint, peach, or baby pink. Paint each nail a different pastel shade for a fun effect. Add a glossy top coat to make colors pop beautifully.
Simple Patterns Geometric shapes and simple lines always look neat. Try a diagonal line dividing the nail into two colors. Or paint just the nail tip in a contrasting shade. Simple patterns work great for quick nail art sessions.
Step-by-Step Guide to Easy DIY Nail Art
Follow these steps for a neat and lasting nail art look.
Step 1: Clean Your Nails Remove old polish and wash your hands thoroughly first. Push back cuticles gently using a cuticle stick. File nails into your preferred shape before starting.
Step 2: Apply Base Coat A base coat protects your nails from staining and damage. Apply one thin, even layer and let it dry fully. This step makes your nail art last much longer.
Step 3: Add Nail Color Apply your chosen base color in two thin layers. Let the first layer dry before adding the second. Thin layers dry faster and look smoother on nails.
Step 4: Create Your Design Use your tools to add the chosen design on top. Work slowly and keep your hand as steady as possible. Start with simple designs before moving to complex ones.
Step 5: Apply Top Coat Seal your design with a clear top coat at the end. This step adds shine and protects your nail art. Apply one thin layer and let it dry for best results.
Quick Nail Art Ideas
These at home manicure ideas take very little time to complete.
Single Dot Design Paint your nails one solid color and let it dry. Add one large dot in a contrasting color at the center. This minimal design looks modern and takes two minutes.
Two-Color Nails Paint alternate nails in two different coordinating colors. Keep both shades in the same color family for harmony. This quick nail art idea looks polished with zero effort.
Accent Nail Paint nine nails in one color and one nail differently. The accent nail stands out and adds instant visual interest. Use glitter, a pattern, or a bold color for the accent.
Glitter Tips
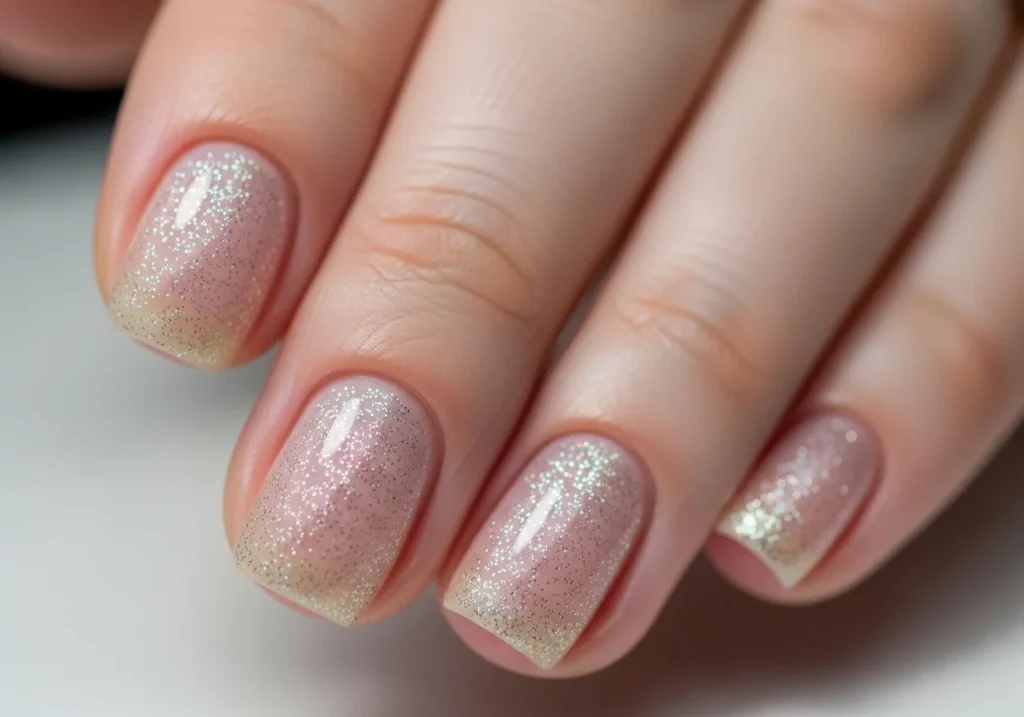
Apply glitter polish only to the tips of your nails. Use a sponge to dab glitter for a gradient glitter effect. This step by step nail art idea looks glamorous and festive.
Tips for Better Nail Art Results
These tips will improve your nail art from the very first try.
- Use thin layers Thin coats dry faster and look much smoother.
- Let polish dry Always wait between layers to avoid smudging designs.
- Keep hands steady Rest your hand on a flat surface while painting.
- Use simple tools Start with toothpicks and dotting tools before brushes.
- Practice designs Try new patterns on paper before applying to nails.
- Choose light colors Light shades show designs more clearly and cleanly.
Common Mistakes to Avoid
Thick Polish Layers Thick layers take forever to dry and look uneven. Always apply two thin coats instead of one thick one. Thin polish gives a smoother and more professional finish.
Rushing Steps Skipping drying time between steps ruins your design. Wet polish smears easily and ruins clean lines. Patience between each step gives the neatest results.
Skipping Base Coat Many beginners skip the base coat to save time. This causes polish to stain your nails and chip faster. A base coat takes only one minute and makes a big difference.
Over Designing Adding too many elements makes nails look messy and busy. Stick to one or two design elements per nail. Simple nail art designs always look more elegant and intentional.
Conclusion
Easy DIY nail art is a rewarding and creative skill anyone can learn. Start with the simplest designs and build your confidence slowly. Use basic tools you already have at home to begin. Follow each step carefully and let every layer dry fully. Keep your designs minimal and clean for the best beginner results. With regular practice, your nail art skills will improve naturally. Enjoy the process and have fun creating your own unique nail looks.
FAQs
1. What is the easiest nail art for beginners?
Polka dots, stripes, and French tips are the easiest to start with. They require basic tools and very little skill. Practice these first before trying more detailed designs.
2. Can I do nail art at home?
Yes, anyone can do nail art at home with basic tools. You need nail polish, a toothpick, and patience to begin. Many beautiful designs require no professional experience at all.
3. What tools are needed for DIY nail art?
You need nail polish, a base coat, a top coat, and dotting tools. Toothpicks, tape, and fine nail brushes are also helpful. These tools cover most beginner nail art designs easily.
4. How long does nail art last?
Nail art lasts five to seven days with proper care. Using a base coat and top coat extends the wear time. Avoid soaking hands in water right after painting nails.
5. How to make nail art look neat?
Apply thin layers and let each one dry fully before continuing. Use tape for straight lines and clean edges. Clean up any mistakes with a small brush dipped in remover.
6. Which nail polish is best for nail art?
Choose a polish with a thin brush for better control. Gel-like formulas stay wet longer, giving you more working time. Avoid very runny polishes as they are harder to control precisely.
Related Articles
Explore more topics in this category
Wedding Nail Ideas That Last Through Your Big Day
The week before my cousin’s wedding, I sat in a nail salon chair watching the technician buff off what I thought was going to be my perfect bridal look. I’d gone in with a pinterest board full of intricate 3D floral designs, tiny pearls, and gradient ombre across all ten nails. An hour later, I…
Summer Nails: Bright & Fresh Designs to Light Up Your Season
Summer is the perfect time to have fun with your nails. Bright colours, playful patterns, and tropical themes make summer nails one of the most exciting beauty trends of the year. Whether you are heading to the beach, attending a summer wedding, or simply soaking up the sunshine, the right summer nail design can elevate…

Best Milky White Nail Polishes & Trend Guide
This soft, glossy shade perfectly captures the clean girl aesthetic and quiet luxury vibe that beauty lovers are obsessed with right now. Unlike harsh white polish, milky white nails offer a subtle, creamy finish that looks elegant, expensive, and effortlessly polished on every skin tone. Whether you want a timeless everyday manicure or a chic…

Emma
Hey there! Welcome to my blog. I love sharing practical tips, hidden secrets, and awesome hacks to help you live beautifully and smart. Stay tuned for more exciting updates!
Read More About Emma →