
12+ Gel Nails at Home Ideas for Beginners
Written by Emma ·
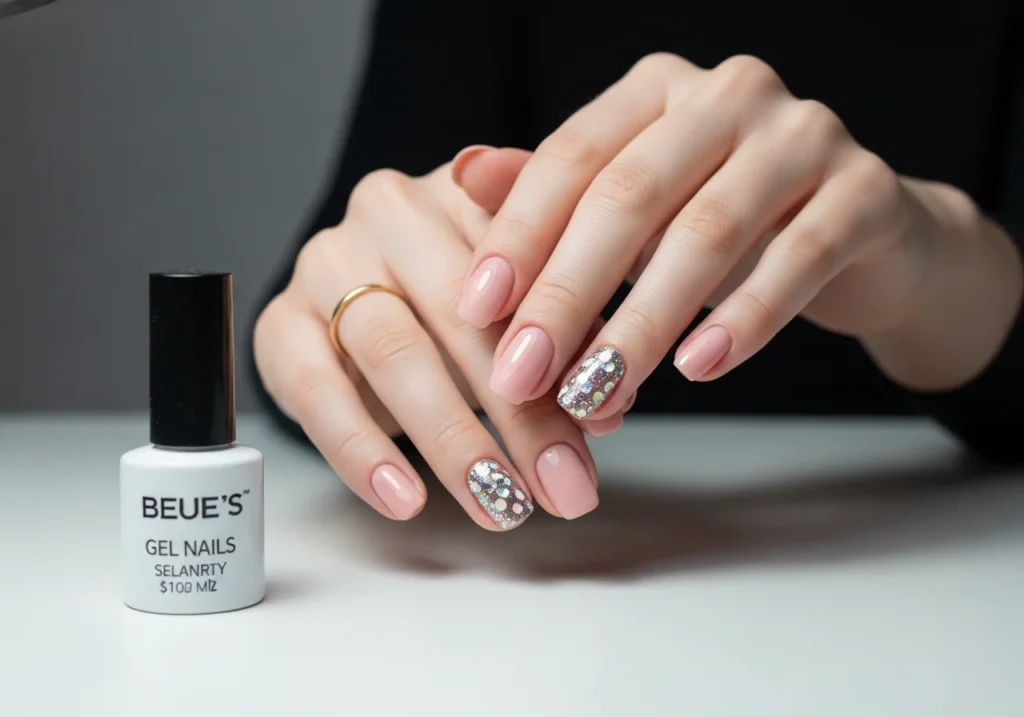
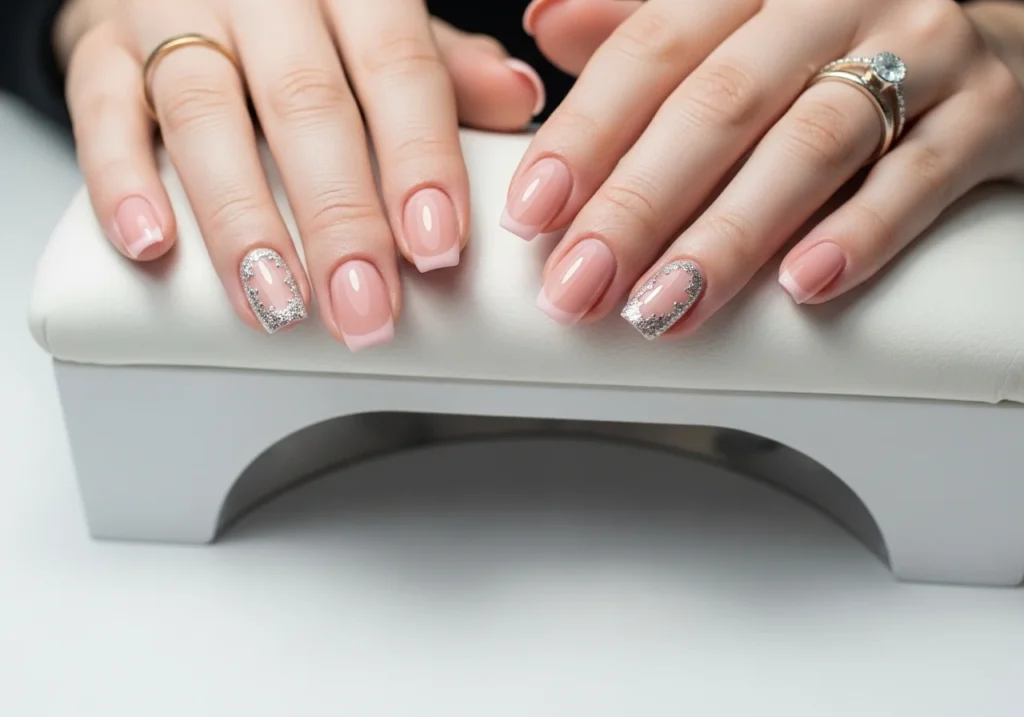
If you’ve ever admired the stunning salon-style gel nails but cringed at the thought of the hefty price tag, you’re not alone! Luckily, the DIY trend is here to save the day. You can now achieve gel nails at home that are just as beautiful and long-lasting as those done in a salon. It’s easier than you think and more affordable than ever! Whether you’re a beginner or just looking to save a little cash, this step-by-step guide will help you master the art of gel nails at home.
What Are Gel Nails?
Gel nails are a popular type of manicure that uses a special gel formula to create a smooth, glossy, and durable finish. Unlike regular nail polish, gel nail polish is cured under a UV or LED lamp, which helps it set quickly and securely.
Gel vs Regular Polish
- Durability: Gel nails last much longer than regular polish, with most gels lasting up to two weeks without chipping or fading.
- Finish: Gel nails provide a thicker, glossier finish compared to regular polish, offering a salon-quality look that’s hard to replicate.
- Curing: Unlike regular nail polish, which air-dries, gel nails must be cured under a UV or LED lamp to harden the gel and ensure long-lasting wear.
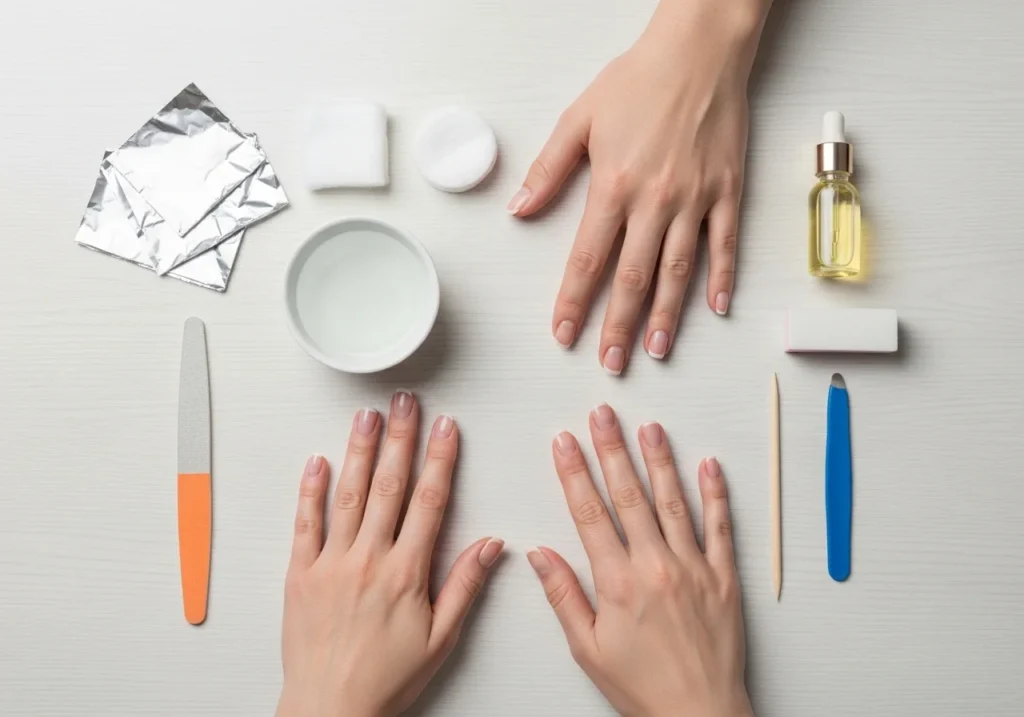
What You Need for Gel Nails at Home
Before you start, gather these basic items for your DIY gel nails session. Here’s a beginner-friendly list:

- Gel Nail Polish: Choose your favorite color or topcoat.
- Base Coat: A gel base coat helps the color stick and prevents staining.
- Top Coat: Adds a glossy finish and protects the color.
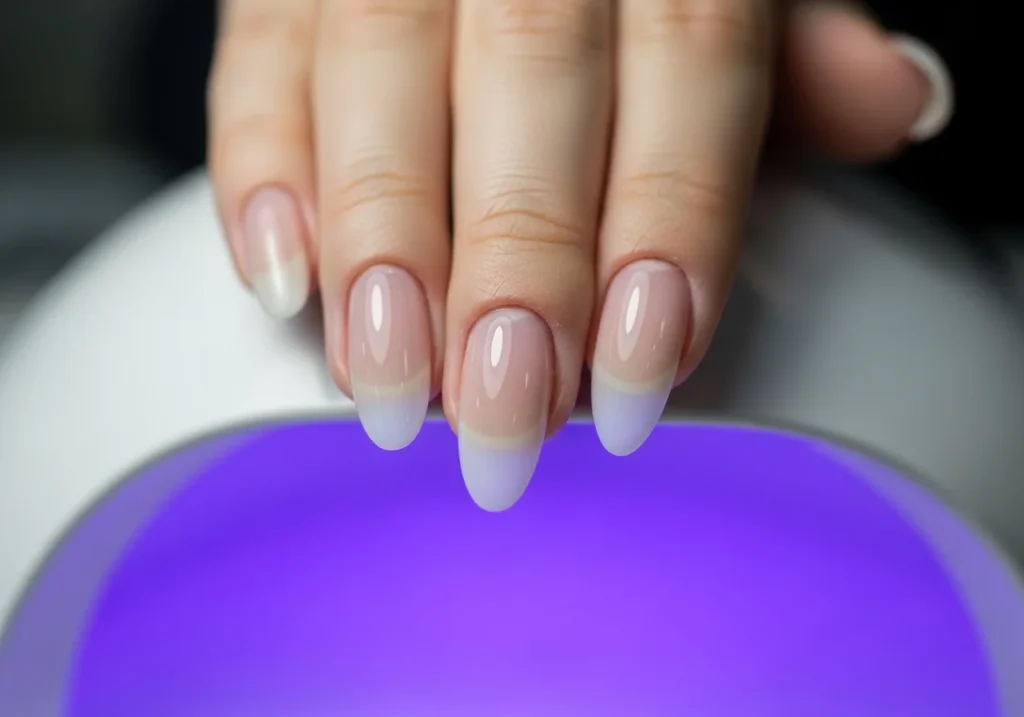
- UV/LED Nail Lamp: Used to cure the gel and make it harden.
- Nail File & Buffer: For prepping your nails and shaping the edges.
- Nail Cleanser: Helps remove any sticky residue after curing the nails.
These items will set you up for success and give you the tools to create long-lasting manicures at home.
Best Gel Nail Kit for Beginners
If you’re new to gel nails, starting with a gel nail kit is the best option. Kits typically come with all the essential tools and products you need for the perfect at-home gel manicure. Look for a kit that includes:
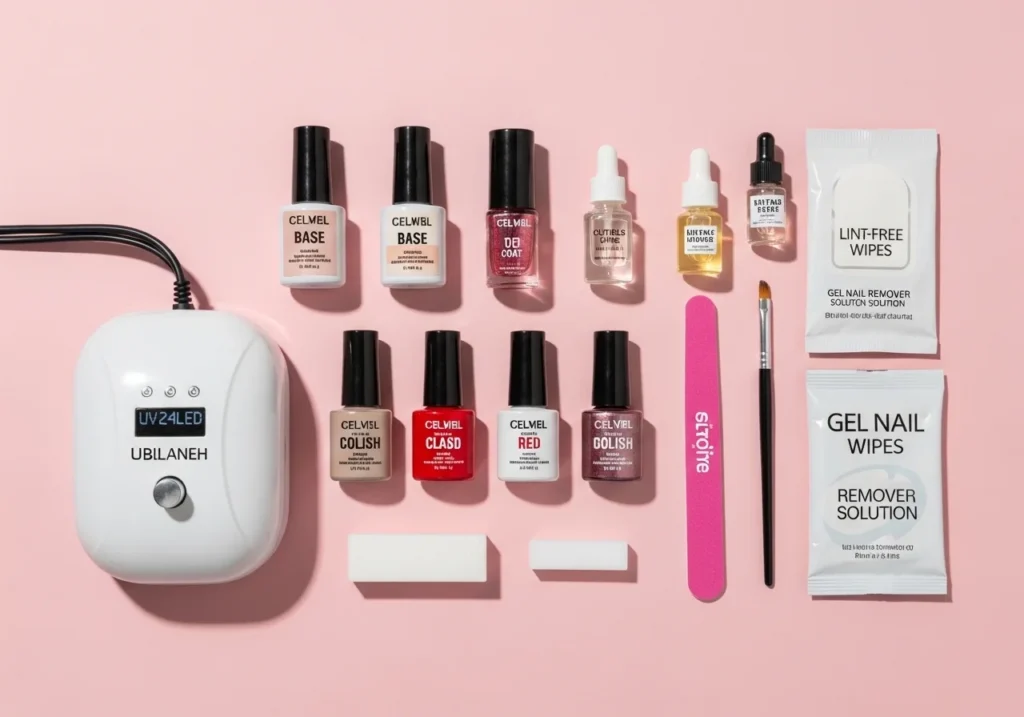
- Gel nail polish in several colors
- Base and top coats
- UV/LED lamp for curing
- Nail tools like a file, buffer, and cuticle pushers
Buying a kit ensures you have everything on hand without needing to shop for individual products. Plus, it’s a great way to get started on your DIY gel nails journey with minimal hassle!
How to Do Gel Nails at Home (Step-by-Step)
Here’s your gel nails step by step guide to achieve flawless, salon-quality nails in the comfort of your own home:
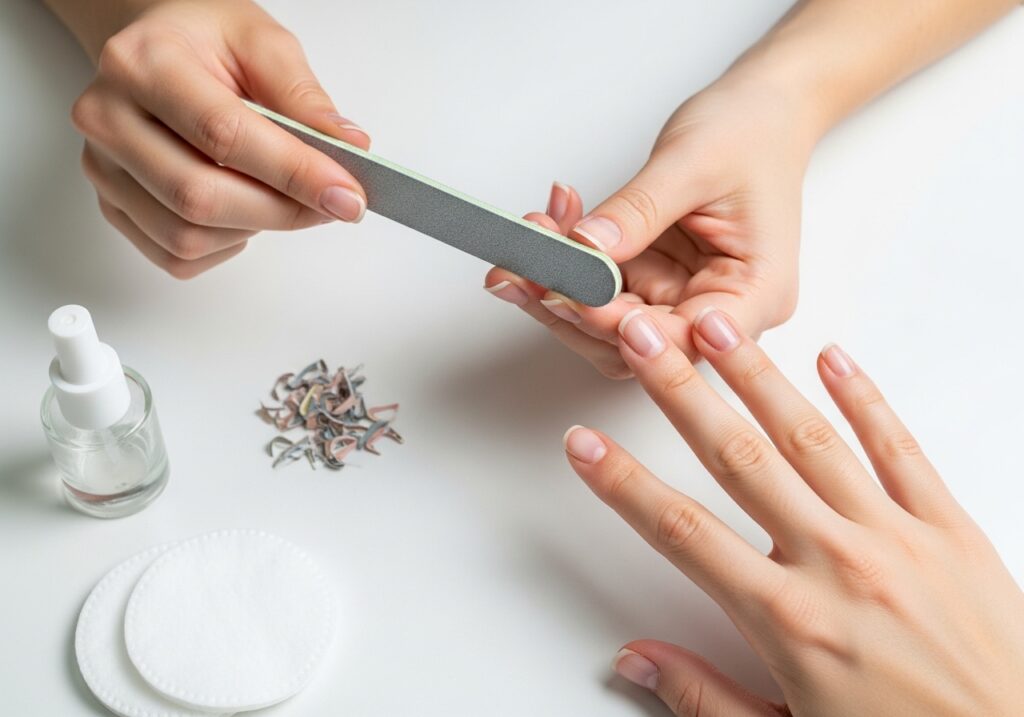
1. Prep Your Nails
Start by removing any old nail polish and trimming your nails to your desired length. Then, gently file and buff your nails to ensure a smooth surface. Make sure to push back your cuticles for a clean look.
2. Apply Base Coat
Apply a thin layer of gel base coat to each nail. Be sure to cover the entire nail, including the edges, to prevent any lifting. Cure the base coat under your UV or LED lamp for the recommended time (usually around 30 seconds for LED and 2 minutes for UV lamps).
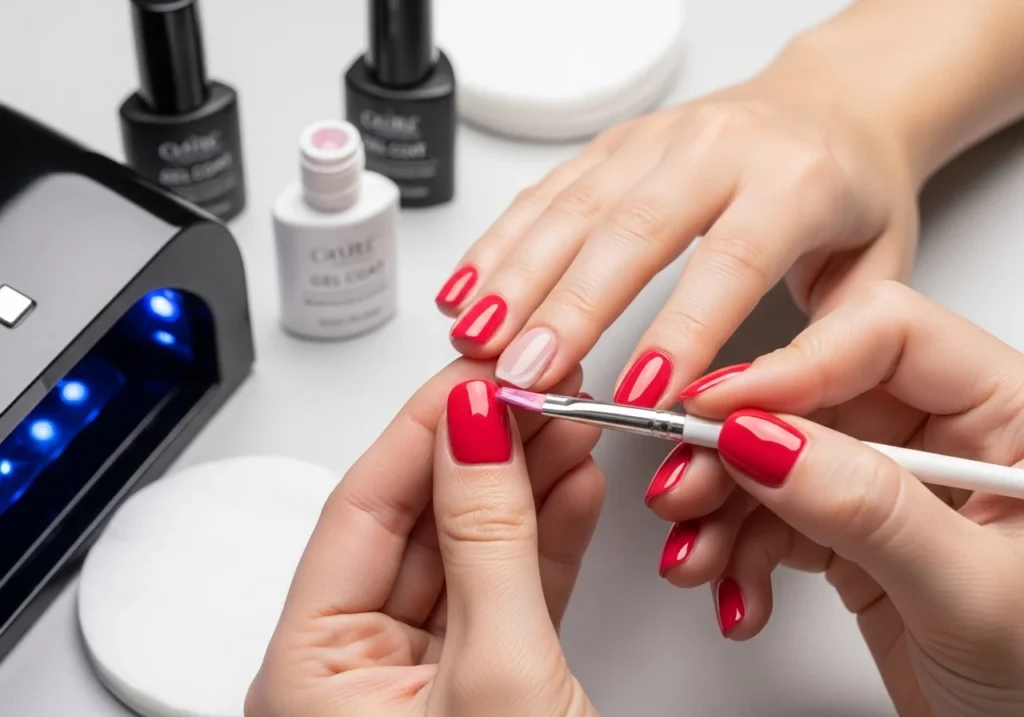
3. Apply Gel Color
Now it’s time to apply your gel nail polish! Apply a thin, even layer of color and cure under the lamp for the required time. If needed, apply a second coat of gel color for a deeper hue and cure again.
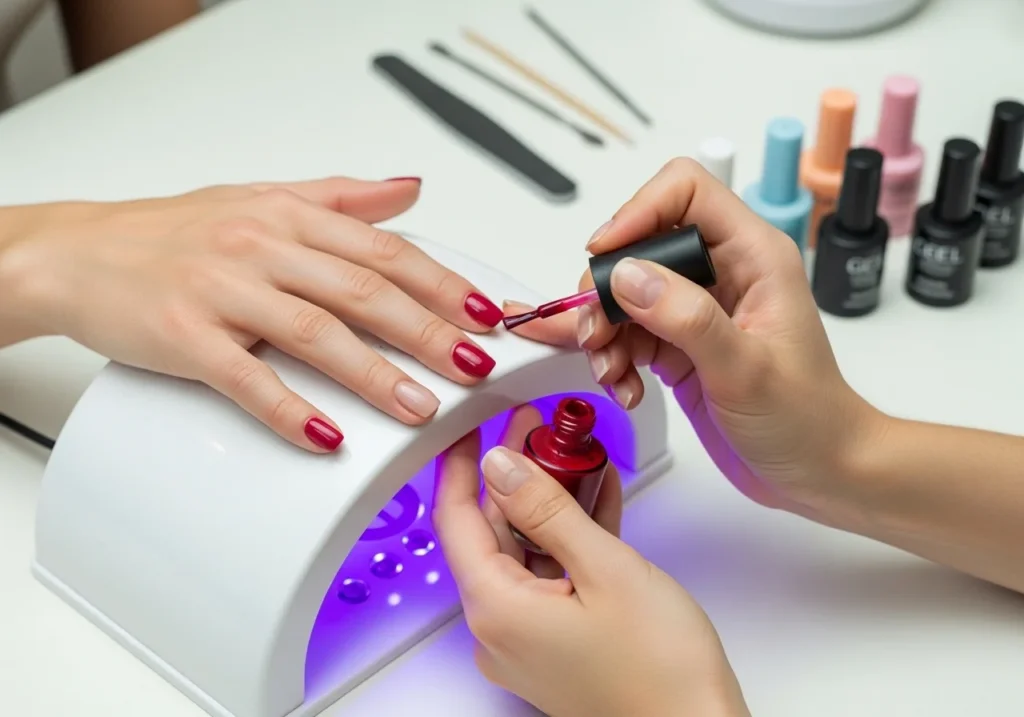
4. Apply Top Coat
Finish off your gel manicure at home with a layer of top coat. This will give your nails a shiny finish and lock in the color. Cure under the lamp once more.
5. Clean and Finish
After curing, use a nail cleanser to remove any sticky residue left on the nails. You’re now ready to flaunt your stunning gel nails at home!
How to Do Gel Nails Without UV Light
No UV light? No problem! While a UV/LED nail lamp is the most effective way to cure gel nails, you can still do gel nails without one. Here’s how:
- Alternative Method: You can use an at-home gel manicure kit with a self-curing gel formula, or opt for a quick-drying gel that doesn’t require curing under a light. Keep in mind that these may not last as long as traditional gel nails cured with UV or LED light.
Gel Nail Removal at Home
To remove gel nails at home safely, follow these steps to prevent damage to your natural nails:
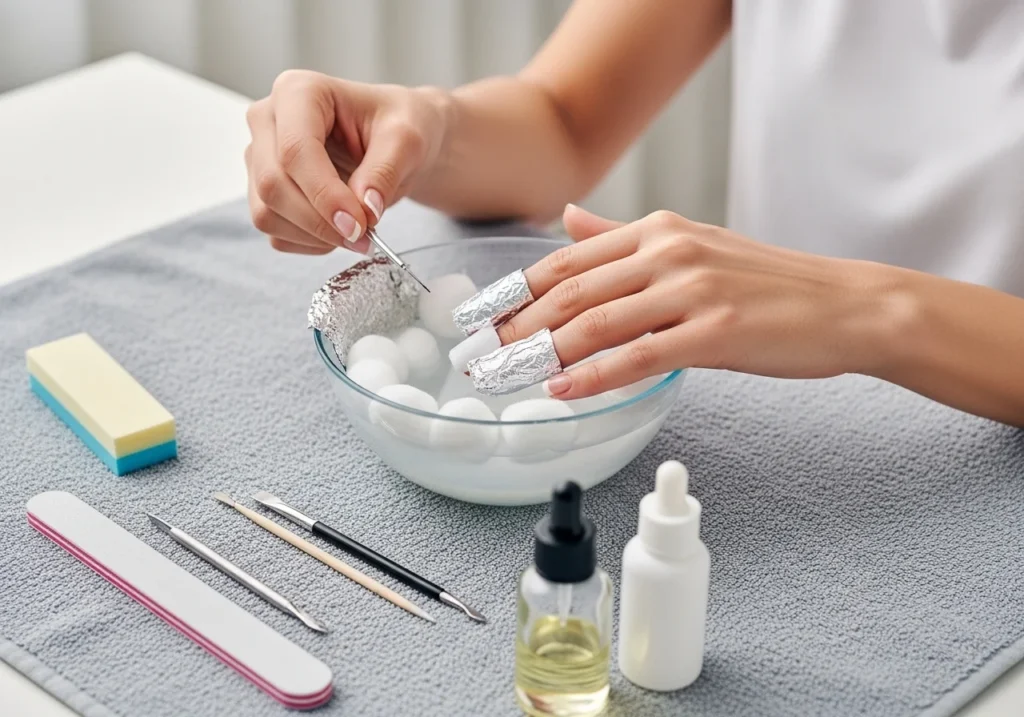
- Soak your nails: Soak a cotton ball in acetone, place it on your nails, and wrap each nail with aluminum foil. Let them sit for 10-15 minutes.
- Gently scrape off the gel: After soaking, the gel should start to lift off. Gently use a cuticle pusher to remove the gel. Be careful not to damage your natural nails.
- Buff and hydrate: Once the gel is removed, buff your nails lightly to smooth the surface, and apply cuticle oil to hydrate and nourish your nails.
Common Mistakes to Avoid
When doing gel nails at home, there are a few common mistakes you’ll want to avoid to ensure the best results:
- Thick Layers: Applying too much gel can cause uneven curing and longer drying times. Stick to thin, even layers for the best finish.
- Skipping Prep: Nail prep is essential for gel nails. Skipping this step can lead to lifting or peeling.
- Not Curing Properly: Make sure to follow the instructions for your UV/LED lamp. Under-curing can cause your gel nails to chip and wear off quickly.
Pro Tips for Long-Lasting Gel Nails
Want your DIY gel nails to last as long as possible? Try these tips for the perfect, long-lasting manicure:
- Use thin layers of gel for a smooth, even finish.
- Don’t skip the base coat – it helps prevent chipping and adds durability.
- Be sure to cure the gel thoroughly under your UV/LED lamp for the recommended time.
- Avoid water for a few hours after finishing your nails to ensure they fully set.
- Moisturize your cuticles regularly to keep them healthy and prevent lifting.
FAQs
How to do gel nails at home for beginners?
To get started, use a gel nail kit, follow a step-by-step gel nails guide, and practice prepping your nails properly before applying the base coat, gel color, and top coat.
How long do gel nails last?
With proper application, gel nails at home can last up to two weeks without chipping or fading, making them a great long-lasting option for your nails.
Can I do gel nails without UV lamp?
Yes, some gel nail polish formulas do not require UV light. However, these alternatives tend to be less durable than those cured with a UV or LED nail lamp.
How to remove gel nails safely?
To remove gel nails at home, soak a cotton ball in acetone, wrap it in foil, and let it sit for 10-15 minutes before gently scraping off the gel.
Are gel nails safe for natural nails?
Yes, gel nails at home are safe when applied and removed properly. Just be sure to follow the correct steps and take care of your natural nails.
Conclusion
Achieving beautiful, salon-worthy gel nails at home is easier than ever with the right tools and techniques. Whether you’re a beginner or just looking for a more affordable way to maintain stunning nails, this step-by-step guide will have you enjoying DIY gel nails in no time. Try it out today and get ready to flaunt your gorgeous, long-lasting gel nails!