
12 Easy Halloween Nail Ideas To Try This Spooky Season
Written by Husnain Zahid ·
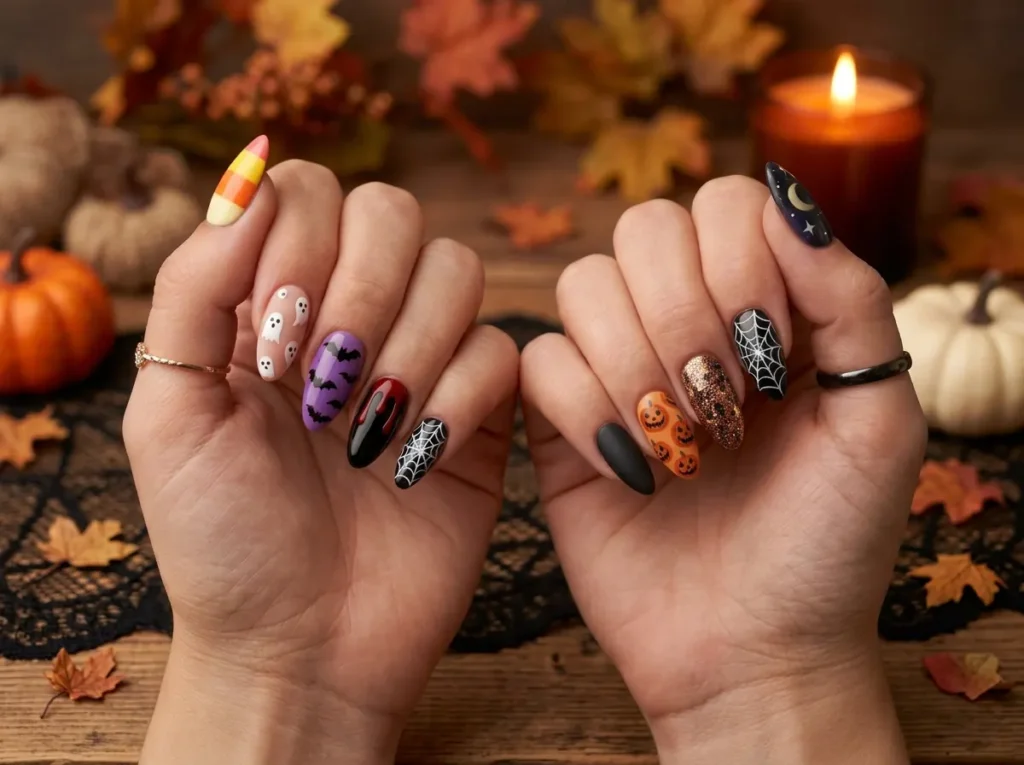
Halloween nail ideas have grown into one of the most fun ways to get into the season without much commitment. Easy designs work just as well for beginners as they do for anyone who’s been doing their own nails for years. I tried my first Halloween nail art two years ago with nothing but a toothpick and a steady hand, and it turned out better than expected.
These easy Halloween nail ideas cover spooky, cute, and simple styles, so there’s a design here no matter your comfort level. This guide covers twelve easy Halloween nail ideas, the tools you’ll need, tips on choosing the right design for your style, common mistakes, and how to make the manicure last through the whole season.
Why Are Easy Halloween Nail Ideas Worth Trying?
Simple designs give you most of the fun without needing a professional appointment.
Most of these looks are DIY-friendly, using basic tools most people already have at home. They’re also budget-friendly, since a couple of polish colors can cover several different designs. These ideas work on both short and long nails, and they suit everything from a Halloween party to regular everyday wear throughout the season.
| Style | Difficulty | Time |
|---|---|---|
| Ghost Nails | Easy | 15 min |
| Blood Drip | Medium | 20 min |
| Matte Black | Very Easy | 10 min |
| Spider Web | Medium | 25 min |
12 Easy Halloween Nail Ideas to Inspire Your Next Manicure
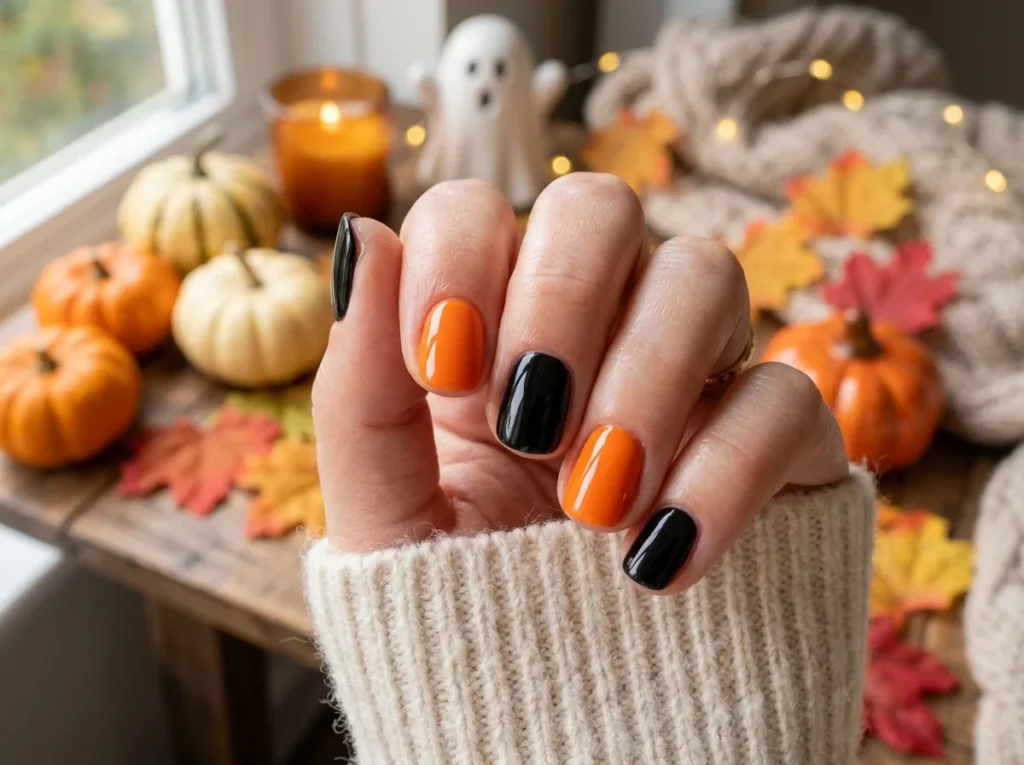
1. Classic Black and Orange Nails
Alternating black and orange nails create an instantly recognizable Halloween look. This design works well as a base for adding small details later if you want to build on it.
Try alternating the pattern every other nail for a more balanced overall look. It works on nearly any nail shape. A glossy finish suits it best, and it fits both everyday wear and party looks. This one counts as a very easy design overall.
2. Cute Ghost Nail Design
Simple white ghost shapes painted on a colored base feel playful rather than spooky. This design works especially well for beginners, since the shape only needs a few basic strokes to look recognizable right away.
Add two small black dots for eyes to finish the shape quickly. Because it’s so simple, it counts as one of the easiest options on this list. It works especially well for kids’ parties or casual wear. Round or almond nails with a glossy top coat show off the shape best.
3. Spider Web Accent Nails
A single accent nail with a thin white web design adds detail without covering every nail. Using a fine nail art brush or a toothpick makes the web lines easier to control.
Start from the center and work outward for the most realistic web shape. This design suits medium to long nails best. Either a matte or glossy base works underneath it. Because of the fine linework involved, it sits at a medium difficulty level, though it still works for both costume parties and everyday styling.
4. Candy Corn Nails
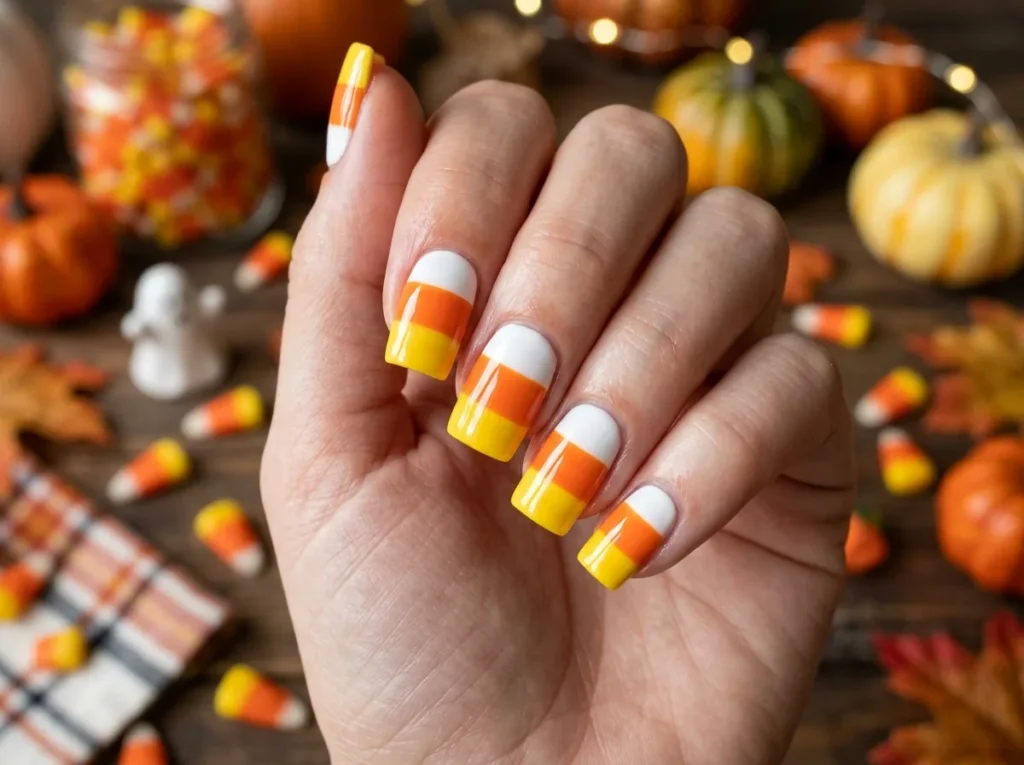
Yellow, orange, and white stripes stacked on each nail mimic the classic candy shape. This design looks intricate but only needs three colors and a steady hand.
Letting each layer dry fully before adding the next keeps the stripes crisp. This design suits Halloween parties especially well, and it falls into the medium difficulty range. Square or coffin shapes give the stripes the most visual impact, especially under a glossy finish.
5. Pumpkin Nail Art
A simple orange pumpkin shape with a few black lines for texture reads clearly even without fine detail work. This design suits both short and long nails equally well.
A small green stem at the top finishes the shape nicely. A matte finish gives the pumpkin a slightly more realistic texture. It works for both casual outings and Halloween gatherings, and once you’ve drawn the basic shape a couple of times, it counts as an easy design.
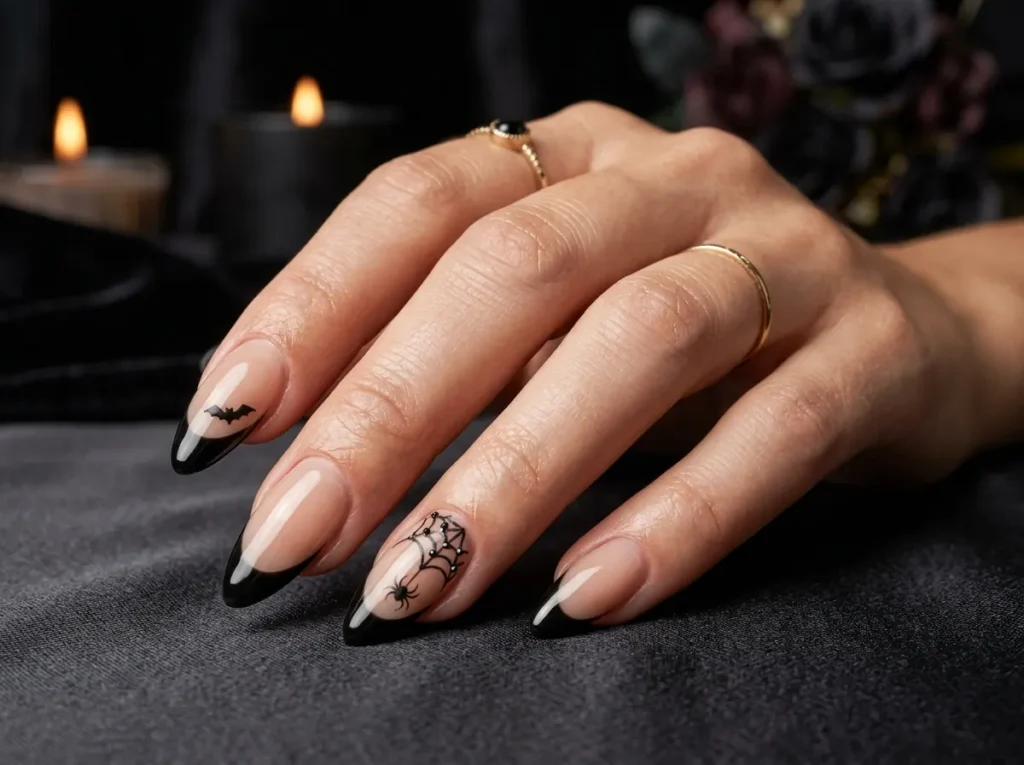
6. Black French Tip Halloween Nails
Swapping the classic white tip for black gives a French manicure an easy seasonal update. This design stays subtle enough for work while still feeling festive.
A striping tape guide helps keep the tip line clean and even. Almond or oval shapes suit this design especially well, and a glossy top coat keeps it looking polished. Since the tape does most of the work, it rates as an easy design, and it fits the office just as easily as a party.
7. Bat Nail Design
Small black bat silhouettes on a lighter base add a graphic, seasonal touch. This design works well as an accent nail if a full set feels like too much.
A nail art stamp makes this design far easier than freehand painting. Difficulty ranges from easy with a stamp to medium if you’re painting freehand. Medium to long nails with a matte base give the bats the most contrast, and this design suits both casual wear and costume looks.
8. Blood Drip Nails
Red polish dripped from the tip of a white or nude base creates a dramatic, easy effect. This design photographs well and takes only a few extra minutes over a regular manicure.
Using a thin brush for the drips keeps the effect looking intentional rather than messy. Longer nails, especially coffin or almond shapes, give the drips more room to fall naturally. A glossy finish makes the red look wetter and more dramatic. This design works best for parties and costume days. It has a medium difficulty level.
9. Purple Glitter Halloween Nails
A deep purple base topped with glitter feels festive without needing any actual nail art. This design works especially well for anyone who wants Halloween color without hand-painted details.
A glitter top coat applied over the base keeps application quick and simple. It suits any nail shape, and it naturally has a glossy, sparkly finish. This design works especially well for evening parties. Because it needs no actual painting, it counts as one of the very easy options on this list.
10. Mummy Nail Design
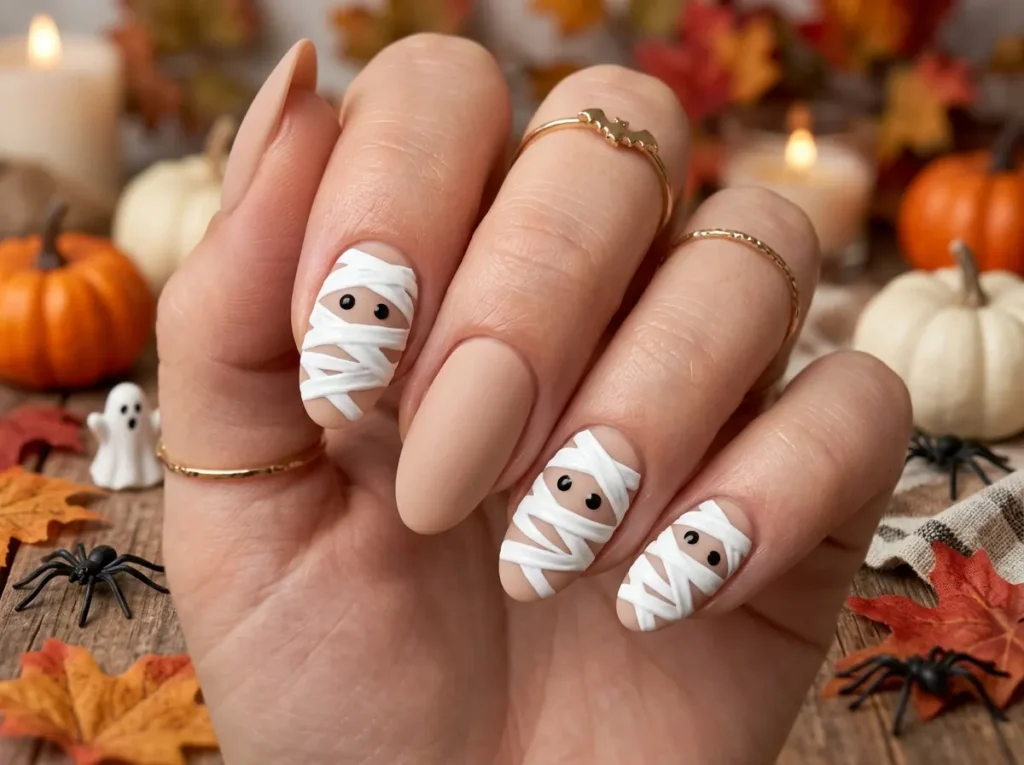
White polish striped across each nail, with small dot eyes added on top, mimics a wrapped mummy. This design is one of the simplest on this list and still reads clearly as Halloween-themed.
Slightly uneven stripes actually add to the bandage-like effect. This is an easy design overall, and it suits kids’ parties and casual wear equally well. Square or coffin shapes give the stripes their most realistic look, especially with a matte finish on top.
11. Matte Black Halloween Nails
A matte black polish alone creates a sleek, moody look with zero extra art required. This design pairs well with small silver or white accents if you want to add detail later.
A matte top coat transforms a regular black polish into this finish. It works on every nail shape, and the matte finish is what gives it its signature look. This design suits both office settings and evening events. It ranks as the easiest design on this entire list.
12. Jack-o’-Lantern Nails
An orange base with simple black triangle eyes and a jagged mouth mimics a classic carved pumpkin. This design works well on one accent nail if a full set feels like too much detail.
A dotting tool helps keep the triangle shapes consistent across nails. Short to medium nails work well here, since the design doesn’t need much space. A glossy finish keeps the orange looking vibrant, and this design suits Halloween parties especially well. Depending on the detail level, it falls into the easy-to-medium range.
What Tools Do You Need for Easy Halloween Nail Art?
Most of these designs come together with tools you likely already own.
A thin nail art brush handles most fine lines, from spider webs to bat silhouettes. A toothpick or bobby pin works as a free substitute for dotting tools on designs like the mummy or jack-o’-lantern nails.
Nail art stamps offer a shortcut for anyone who wants a clean bat or web design without freehand painting. Besides brushes and dotting tools, nail stickers and decals are another beginner-friendly option for creating detailed Halloween nail art without freehand painting.
A good base coat, top coat, and a small selection of Halloween-friendly colors cover nearly every design on this list. Building a small kit once means you can revisit these designs again in future years without buying anything new.
If you enjoy simple seasonal styles, you’ll also love these coffin nails ideas that work beautifully throughout the year. They offer plenty of chic designs beyond Halloween.
Which Halloween Nail Design Matches Your Style?
A few factors help narrow down which design fits best.
- Short nails vs. long nails, since some designs read more clearly on more nail surface area.
- Matte or glossy finish, which changes the overall mood of the same color palette.
- Beginner vs. advanced designs, so you’re not starting with the most detailed option first.
- Matching your Halloween costume, if your nails are part of a bigger seasonal look.
- Choosing colors that suit your style, from classic orange and black to something more subtle.
None of these factors are strict rules, but they’re a helpful starting point if you’re staring at a wall of nail polish colors feeling unsure where to begin.
Do These Designs Work on Any Nail Shape?
Most Halloween nail ideas adapt easily to whatever shape you already have.
Square and almond shapes tend to give more surface area for detailed designs like pumpkins or candy corn stripes. Rounder or shorter nails, on the other hand, work best with simpler designs, like matte black or a single accent nail, where less space still reads clearly. Coffin or stiletto shapes handle dramatic looks like blood drips especially well, since the elongated tip gives the effect more room to show and drip realistically.
Whatever shape you’re working with, starting with a simpler design on your first attempt makes it easier to gauge how much detail actually fits comfortably on your specific nail size.
What Are the Best Nail Polish Colors for Halloween?
A handful of shades cover almost every design on this list.
Classic orange and black remain the most recognizable Halloween manicure colors, working for nearly any design from pumpkins to French tips. Deep purple, blood red, and matte black round out the rest of the seasonal palette, giving you enough range for both spooky and simple looks. White works as a base for ghosts and mummies, while a touch of glitter adds festive shine to almost any color underneath.
Nail Care Before and After Halloween
A little care on either side of the holiday keeps nails healthy through the season.
Before painting, trim and shape nails, push back cuticles gently, and apply cuticle oil a day or two ahead of time. This gives the polish a cleaner surface to grip. Because of this, colors tend to look more even from the very first coat. After Halloween, remove polish gently with a proper remover rather than peeling, which can damage the nail bed underneath.
Giving nails a short break between manicures, along with regular moisturizing, helps prevent the dryness and brittleness that heavy polish use can sometimes cause.
Mistakes That Can Ruin Your Halloween Manicure
Using Too Many Colors
Piling on more than three or four colors at once can make a design look chaotic. Sticking to a simple palette usually reads cleaner, even for detailed designs like candy corn or pumpkin nails.
Skipping a Base Coat
Going straight to color without a base coat leaves nails more prone to staining. A base coat also helps polish last longer without chipping early, especially with darker colors like black or deep purple, which tend to stain nails without one.
Applying Thick Polish Layers
Thick coats take longer to dry and are more likely to smudge before they set. Two thin coats almost always look better and last longer than one thick one, even if it takes a few extra minutes.
Forgetting a Top Coat
Skipping the top coat leaves designs vulnerable to chipping within a day or two. A good top coat also adds shine and helps seal in any hand-painted details, keeping fine lines from smudging.
Rushing the Drying Process
Moving on to daily tasks too soon after painting often smudges fresh polish. Giving nails extra time to fully dry, especially between coats, prevents most avoidable mistakes and saves a redo later.
Simple Ways to Make Your Halloween Nails Last Longer
Prep Your Nails Properly
Clean, dry nails without any leftover oil hold polish far better. A quick wipe with rubbing alcohol before painting removes any residue that could cause chipping later on, especially around the cuticle area. The American Academy of Dermatology also recommends keeping nails and cuticles moisturized between manicures to prevent damage.
Apply Thin Coats
Thin, even layers dry faster and adhere better than thick ones. This also helps hand-painted details stay crisp instead of blurring together, especially on smaller designs like bats or webs.
Seal with a Quality Top Coat
A strong top coat protects the design underneath from daily wear and tear. Reapplying it every few days extends the life of the whole manicure, particularly on high-contact areas like fingertips that see the most daily wear. I also found that thin polish layers paired with a fast-drying top coat made the biggest difference in preventing chips.
Conclusion
Even simple Halloween nail ideas can make your seasonal look feel complete. Start with one easy design, experiment with different colors, and don’t be afraid to try something new. A few of these took me multiple tries to get right, so don’t worry if the first attempt isn’t perfect, especially with the more detailed designs like candy corn or spider webs.
The best part about easy Halloween nail ideas is how forgiving they are, since a quick swipe of remover always gives you a second chance. For more year-round inspiration, our Simple Nail Designs guide has plenty of easy looks worth trying next.
Save your favorite ideas now so you’ll be ready when Halloween arrives.
Related Articles
Explore more topics in this category
10 Christmas Nails 2026: Beautiful Designs for Long Nails
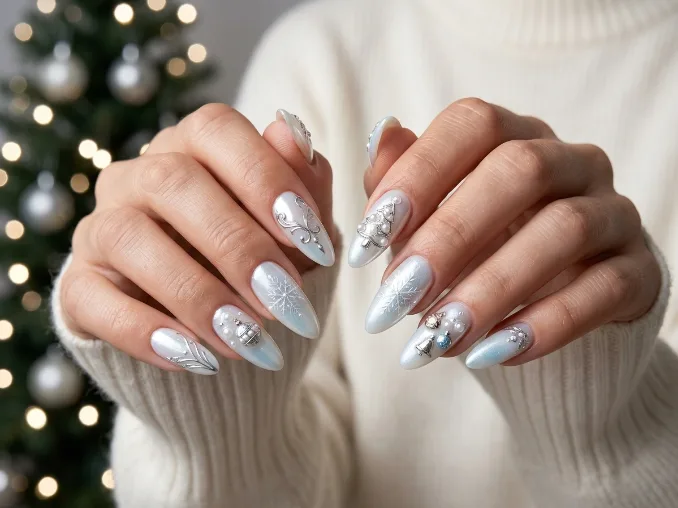
Christmas nails 2026 are bringing longer shapes, glossy finishes, and detailed festive accents into focus. Long nails give these designs more space, helping raised ornaments, chrome details, and layered finishes stand out clearly. The overall look feels elegant and festive without becoming overly traditional or costume-like. This guide features 10 Christmas nail designs for long…
15 Coffin Nails Ideas You’ll Want to Try This Year
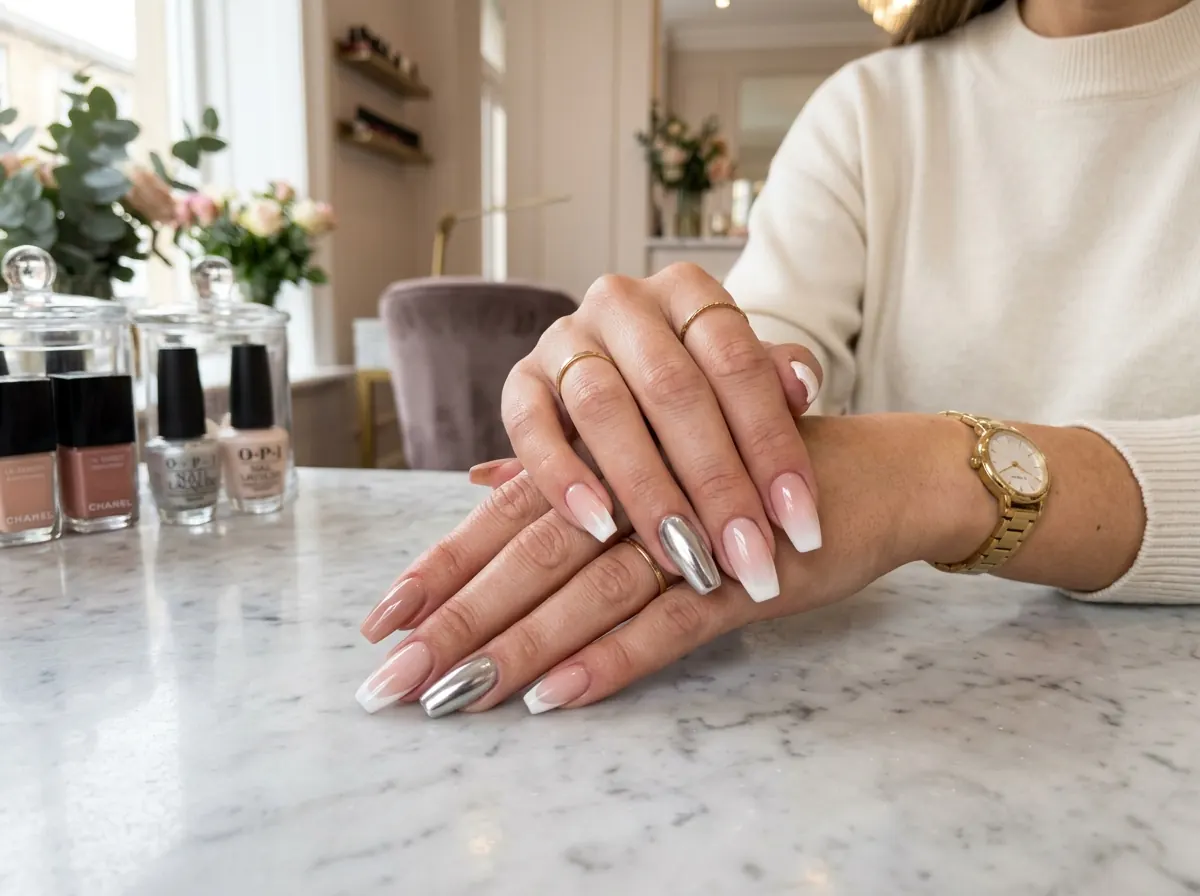
Coffin nails have become one of the most requested shapes at nail salons over the past few years. The tapered sides and flat, squared-off tip give nails a long, elegant look without feeling overly dramatic. I switched to this shape last year for a wedding and ended up keeping it for months afterward. This guide…
Wedding Nail Ideas That Last Through Your Big Day
The week before my cousin’s wedding, I sat in a nail salon chair watching the technician buff off what I thought was going to be my perfect bridal look. I’d gone in with a pinterest board full of intricate 3D floral designs, tiny pearls, and gradient ombre across all ten nails. An hour later, I…
